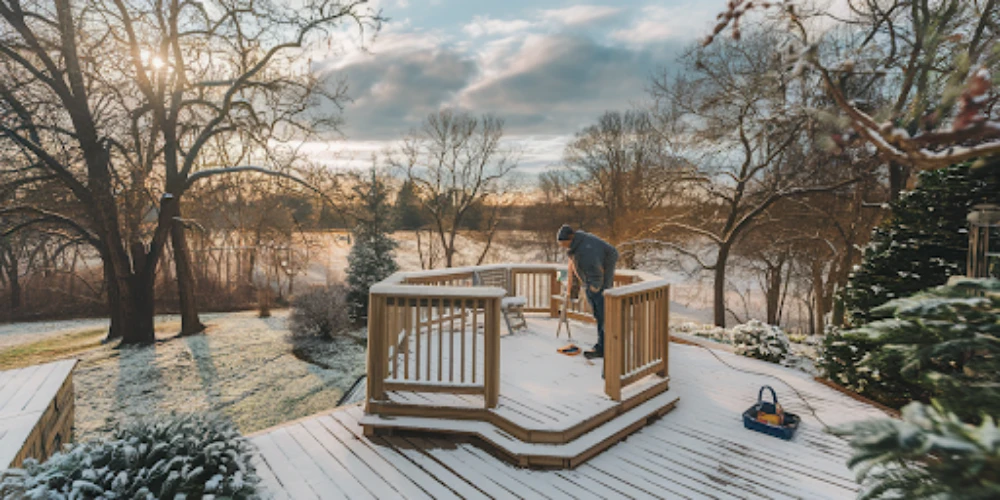
Kansas winters aren’t just cold; they bring a challenge. The icy temps, snow piled high, and gusty winds can be brutal on your deck—the place where you’ve probably enjoyed countless summer evenings, maybe even a few chilly fall mornings with a warm cup of coffee. But, like anything you love, some care goes a long way in keeping it safe. At Aaron’s Painting and Remodeling, Inc., we know what it means to create a space that feels like home, inside and out. That’s why we’ve put together this guide—a deck isn’t just wood and nails; it’s a part of your home and memories.
So, let’s roll up our sleeves and get it ready to stand tall through winter!
Why You Should Winter-Proof Your Deck
Leaving your deck unprotected through winter is like leaving a good friend in the cold. For the best results, consider top deck materials for durability and style to ensure your deck stands up to the harsh weather and maintains its look year-round. If you don’t prepare it, winter’s constant freezing and thawing can cause issues like:
- Cracks and Splinters – Wood can expand and shrink in the cold, causing boards to split and roughen.
- Mold and Mildew – Melting snow and rain can soak into the wood. If it stays wet, it might lead to rot and ugly stains.
- Wear and Tear—Your deck is part of your home, and with a little care, it’ll stay cozy and welcoming for years to come. Preparing it now will avoid costly repairs later.
Taking these steps now helps your deck last longer and looks great.
10 Essential Steps To Protect Your Deck This Winter
Winterizing your deck is one of the best ways to ensure it stays in top shape year-round. Here’s a complete step to help you keep your deck looking great through Kansas’s chilly, unpredictable winter season.
For expert help, consider professional deck building services by your local painters to make sure your deck is ready to withstand the elements.
Step 1: Clear Away Leaves & Debris
One of the simplest yet most crucial steps to protect your deck from winter damage is clearing off any debris. Leaves, twigs, and dirt left on the deck can trap moisture, which leads to mold and mildew.
- Grab a broom or rake to remove all debris from the deck surface.
- Focus on corners and spaces between boards where debris tends to settle.
- If possible, make this a regular practice through fall and winter to prevent buildup.
Why It Matters: Debris like wet leaves acts like a sponge, keeping moisture on your deck and creating a breeding ground for mold and rot.
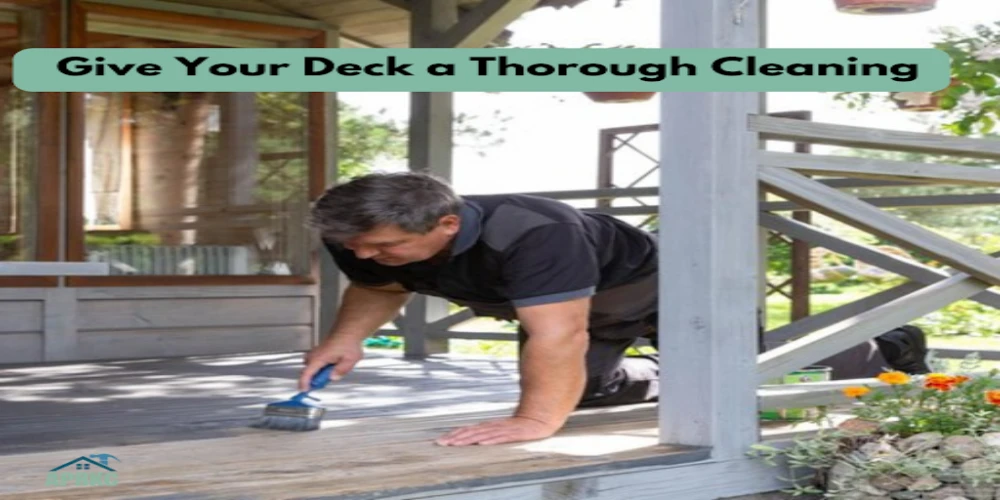
Step 2: Give Your Deck a Thorough Cleaning
To keep your deck resilient against winter’s harsh conditions, cleaning is essential. Dirt and grime left over the winter months can cause stains and make spring cleaning harder.
- Wood Deck: Use warm, soapy water and a soft brush. For deep cleaning, a light power wash (under 1,500 psi) can be used.
- Composite or PVC Deck: Mild soap and water are usually sufficient. Avoid power washing to prevent damage.
Deck Type | Cleaning Method |
Wood | Warm soapy water, light power wash |
Composite/PVC | Mild soap and water, no pressure washing |
Tip: Clean between deck boards to remove trapped dirt, which can lead to rot and structural issues over time.
Step 3: Trim Back Trees & Overhanging Branches
While greenery adds charm to your deck, overhanging branches can be a hazard in winter. Heavy snow or ice can weigh down branches, causing them to break and damage your deck.
- Trim back any branches that overhang your deck to prevent snow-laden limbs from snapping.
- Clear surrounding shrubs or plants to prevent debris buildup and improve air circulation around your deck.
Benefit: This simple step prevents accidental deck damage and helps keep your deck clean from falling leaves and branches.
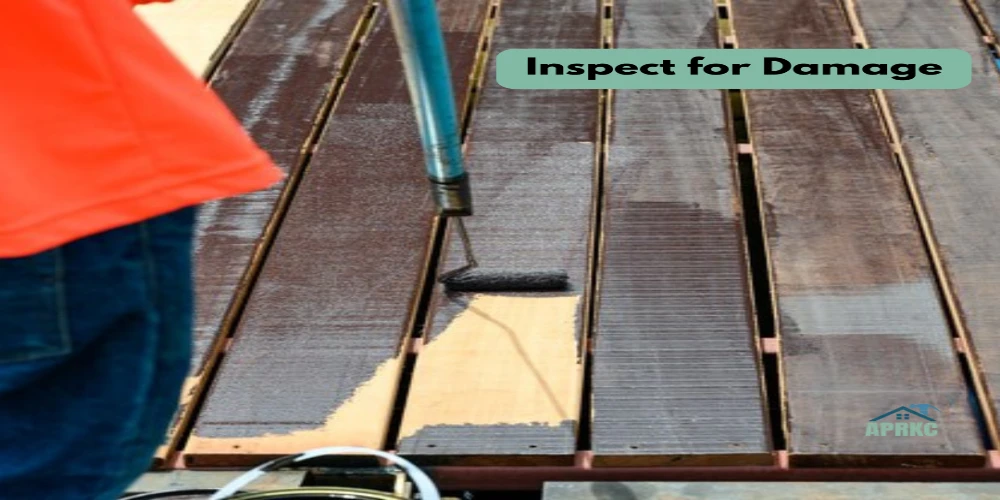
Step 4: Inspect for Damage
Winter can worsen any minor issues, so now’s the time to inspect your deck closely.
- Look for cracks or splinters in wooden boards.
- Check railings and fasteners for any loose or wobbly sections.
- Identify any signs of rot in wood, especially in shaded or damp areas.
Repair any issues you find now to prevent bigger problems come spring. Tighten screws, replace any damaged boards, and sand down splinters to keep everything secure.
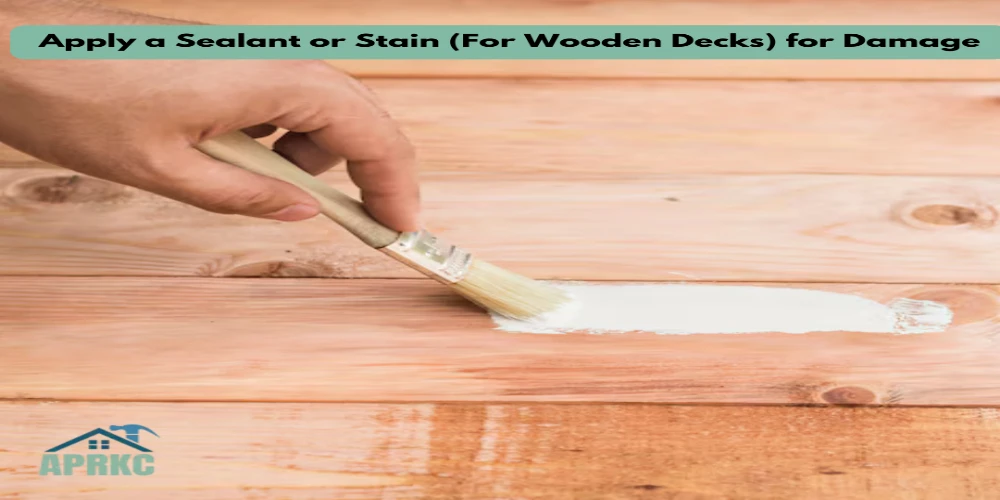
Step 5: Apply a Sealant or Stain (For Wooden Decks)
Wood decks are especially vulnerable to moisture, so applying a protective sealant or stain is key.
- Choose the right product based on your deck’s current finish and desired look.
- Clear Sealant – Retains natural wood look, adds water resistance.
- Stain – Provides both color and moisture protection.
- Apply evenly, following product instructions. For extra protection, add a second coat.
Finish Type | Advantages | Disadvantages |
Clear Sealant | Retains natural look, water-resistant | Needs frequent reapplication |
Stain | Adds color and moisture barrier | Alters natural wood color |
Sealants and stains act like a shield, locking out moisture to prevent cracking, warping, and rot.
Step 6: Bring in Outdoor Furniture or Cover It
Winter’s extreme conditions can damage furniture, so it’s best to store it indoors if possible.
- Move furniture indoors to prevent rust and damage from moisture.
- Use waterproof covers if you must leave furniture outside, securing them tightly to avoid wind damage.
Tip: Removing furniture also reduces the weight and pressure on your deck, helping it last longer.
Step 7: Raise Planters & Pots
Planters are great for adding life to your deck, but in winter, they can trap moisture underneath, causing damage.
- Place pots on saucers or pot feet to create airflow beneath them.
- Alternatively, remove planters from your deck altogether for the season.
Benefits: Raising planters prevents staining and rot on the deck boards caused by trapped moisture.
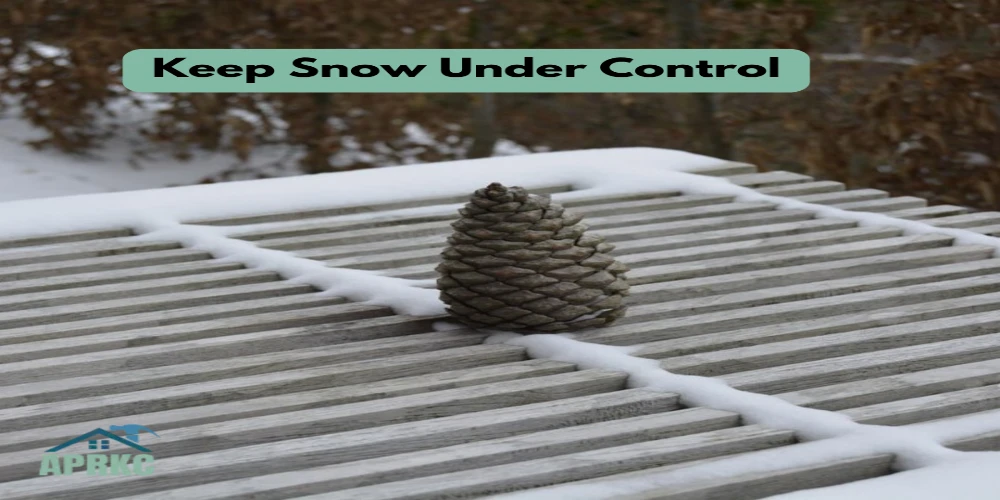
Step 8: Keep Snow Under Control
Snow can be beautiful, but letting it pile up on your deck isn’t a good idea. Heavy snow can lead to warping and moisture damage.
- Use a plastic shovel or a soft-bristle broom to gently remove snow.
- Avoid metal shovels, which can scratch or gouge the deck’s surface.
- Consider clearing snow periodically rather than waiting for large accumulations.
Why: Regular snow removal stops moisture from soaking into your deck and causing damage.
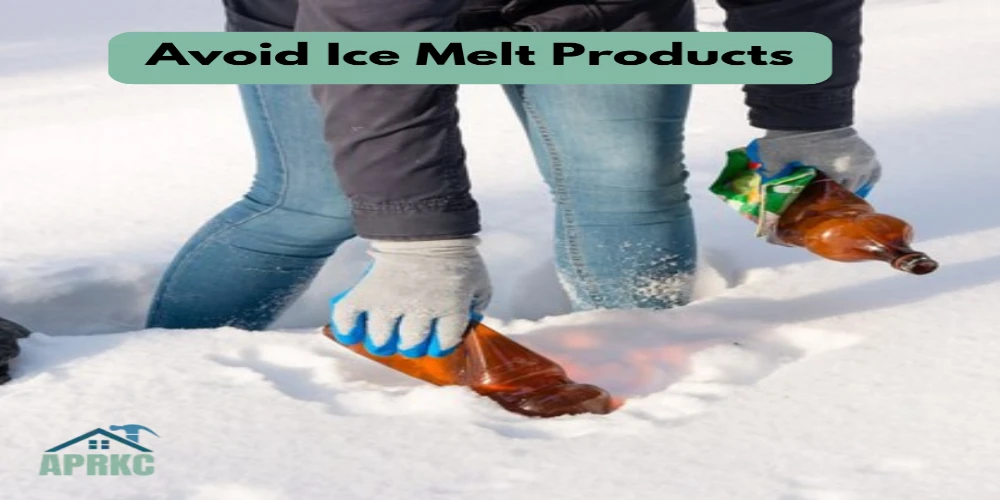
Step 9: Avoid Ice Melt Products
While it may be tempting to use deicers to prevent ice buildup, many ice melts are too harsh for deck surfaces.
- Avoid salt-based ice melts, as they can damage the finish on wood and composite decks.
- If necessary, opt for a deck-safe ice melt and use sparingly.
Tip: Sweeping off snow before it hardens into ice is usually the best preventive step.
Step 10: Consider a Winter Cover
A cover can be a great option for extra protection, especially if you’re expecting heavy snowfall.
- Choose a waterproof, breathable cover that fits snugly over your deck.
- Ensure it’s tightly secured to prevent wind from blowing it off.
A winter cover not only shields your deck from the elements but also makes spring cleanup easier.Regular maintenance not only preserves the deck’s appearance but also helps avoid costly repairs. For instance, understanding the expenses involved can be crucial; learn more about how much it costs to repair a deck in Overland Park.
Keep Your Deck Happy And Ready for Spring !
Your deck is part of your home, a place where memories are made. By taking these steps, you’re giving it the care it deserves. Winter-proofing might take a bit of effort, but come spring, you’ll be stepping out onto a deck that’s as ready to soak up the sun as you are.
And remember, Aaron’s Painting and Remodeling, Inc. is here to help. Whether it’s repairs, maintenance, or just some friendly advice, we’ve got your back—because we believe your home deserves the very best, from the inside out.
Keep Your Deck Looking Great All Winter Long – Trust Our Winter-proofing Solutions!

