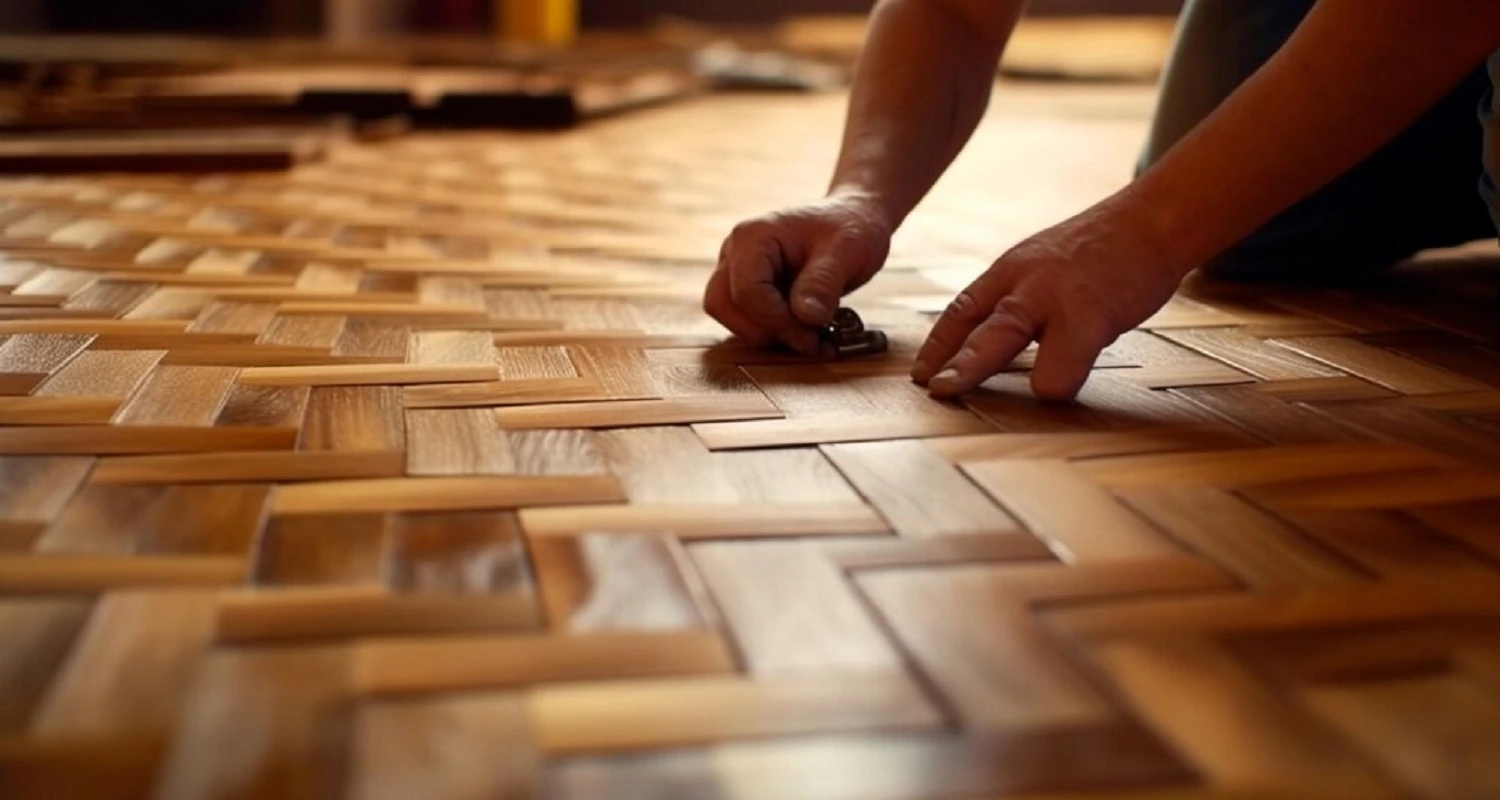
Installing hardwood floors is a significant home improvement project that can transform the look and feel of your living space. But, how long does it take to install hardwood floors?
The answer can vary widely depending on several factors, including the size of the area, the type of hardwood, the condition of your subfloor, and whether you’re going with a professional flooring installation or a DIY approach. In this blog post, we’ll explore these factors and give you a comprehensive overview of the timeline for installing hardwood floors.
Factors Affecting Installation Time
When considering the installation of hardwood floors, several factors can significantly affect the overall timeline of the project. Understanding these factors can help set realistic expectations and plan accordingly for homeowners and professionals alike. Here are the key factors affecting installation time for hardwood floors:
1. Size of the Area
The larger the area, the longer the installation will take. A small room might be completed in a day, while a whole house could take up to a week or more.
2. Type of Hardwood
Prefinished hardwood flooring is quicker to install since it doesn’t require sanding and finishing on-site. Unfinished hardwood, which needs to be finished after installation, can add several days to the project.
3. Condition of Subfloor
Preparing the subfloor can be time-consuming. If repairs or leveling is needed, this can add time to the project before the actual hardwood installation begins.
4. Removal of Existing Flooring
If you need to remove old flooring, this can also add time and labor to the project.
5. Acclimation of Hardwood
Hardwood flooring needs to acclimate to the environment of its new home to prevent future warping or gapping. This process involves letting the wood adjust to the room’s temperature and humidity levels for several days before installation, which can add time before the project officially begins.
6. Installation Method
The method of installation—nail down, glue down, or floating—also affects the timeline. For example, glue-down installations may require additional time for the adhesive to cure, whereas nail-down or floating installations might proceed more quickly.
7. Finishing Requirements
For unfinished hardwood, the finishing process (sanding, staining, and applying sealant) is time-consuming, requiring multiple steps with drying and curing time between each. Prefinished floors skip this step, offering a quicker overall installation.
8. Professional vs. DIY Installation
Professional installers can work quickly and efficiently due to their experience and equipment, typically completing the job faster than DIY installers
General Timeline for Professional Installation
A professional hardwood floor installation can vary in duration based on several factors, including the size of the project, type of hardwood, condition of the subfloor, and any additional custom work required. However, a general timeline can provide a rough estimate of what to expect during the installation process. Here’s a typical timeline for a professional hardwood floor installation:
- Day 1: Removal of existing flooring and preparation of the subfloor. This includes cleaning, leveling, and repairs.
- Day 2-3: Installation of the hardwood floors. This stage can take longer depending on the complexity of the layout and the type of hardwood.
- Day 4-5: Sanding and finishing for unfinished hardwood floors. This process involves several steps, including the application of multiple coats of finish, with drying time in between.
- Additional Time: Allow extra time for acclimation of the hardwood to your home’s environment, which can vary from a few days to over a week.
DIY Installation Considerations
For those considering a DIY installation, it’s important to realistically assess your skills and the amount of time you can dedicate to the project. A DIY installation can take significantly longer than a professional one, especially if you’re learning as you go. However, prefinished hardwood can simplify the process, as it eliminates the need for sanding and finishing.
Tips for a Smooth Installation
Ensuring a smooth hardwood floor installation requires careful planning, preparation, and execution. Whether you’re a homeowner looking to upgrade your space or a professional installer aiming for the best results, these tips can help streamline the process and minimize potential issues:
- Plan Ahead: Ensure your hardwood has time to acclimate to your home’s environment before installation.
- Use the Right Tools and Materials: Having the correct tools and materials on hand before starting your project can save time and frustration. This includes saws, nailers, adhesives, and underlayments, among others, depending on your installation method.
- Follow Manufacturer’s Instructions: Each type of hardwood flooring comes with specific installation guidelines from the manufacturer. Adhering to these instructions ensures the best performance of your flooring and maintains your warranty.
- Inspect Each Plank: Before installing each plank, inspect it for defects. Use planks with imperfections in less visible areas or cut them for use in smaller spaces.
- Maintain Indoor Climate: Keep your home’s temperature and humidity levels consistent both during and after installation to help your new hardwood floors acclimate and settle properly.
- Prepare the Subfloor: A clean, level subfloor is crucial for a successful installation.
- Hire Professionals: If you’re unsure about your DIY skills, hiring professionals can save time and potentially avoid costly mistakes.
The time it takes to install hardwood floors can vary widely based on several factors. Professional installations typically range from a few days to a week, while DIY projects may take longer. By understanding the factors involved and planning accordingly, you can ensure a smooth and efficient hardwood floor installation process. Whether you choose to hire professionals or take on the project yourself, the end result will be a beautiful and durable new floor that enhances your home for years to come. Also read: Preserving Property Value: The Essential Guide To Home Maintenance
Your Journey to Stunning Hardwood Floors Starts Here
Installing hardwood floors is an exciting step towards transforming your space into the home of your dreams. At APRKC, we understand the value of time and quality in making this transformation a reality. With our expert guidance and commitment to excellence, you can look forward to enjoying your beautiful new floors with minimal disruption to your daily life. We’re here to help every step of the way, ensuring a smooth and satisfying experience from start to finish. Ready to begin? Contact APRKC today to schedule your consultation and take the first step towards a stunning home transformation. Now proudly offering floor installation near Kansas city, we’re excited to bring our expertise and passion for quality flooring solutions to your doorstep.
Sources
- DIY and home improvement in the U.S. – Statistics & Facts. https://www.statista.com/topics/1732/home-improvement/#topicOverview
- Hardwood flooring sales in the United States from 2014 to 2020. https://www.statista.com/statistics/1080507/hardwood-flooring-sales-volume-us/