As homeowners increasingly seek stylish yet affordable flooring options, vinyl plank flooring has surged in popularity. This practical guide is designed to walk you through the DIY installation process, showcasing not only the cost-effectiveness but also the straightforward nature of this task. By the end, you’ll see how applying a new floor can be an attainable weekend project that transforms your home.
Choosing the Right Vinyl Plank Flooring
When it comes to selecting the best vinyl plank flooring for your home, consider a few key factors that will impact both its performance and appearance. Here’s what to look for:
- Durability and Thickness: The durability of vinyl flooring is often determined by its wear layer and overall thickness. A thicker plank will generally offer a more robust feel underfoot and better sound insulation. Look for planks with at least a 12 mil wear layer for residential use.
- Locking System: There are mainly two types of vinyl plank flooring based on installation methods: click-lock and glue-down. Click-lock planks interlock at the edges and float over the subfloor, making them ideal for a hassle-free, nail-free installation. Glue-down planks, on the other hand, are adhered directly to the subfloor, offering a more permanent solution that can handle heavier foot traffic.
- Aesthetic Appeal: Vinyl planks come in various designs, mimicking the look of natural wood, stone, and even tile. Choose a style that complements your home’s decor and meets your personal taste.
Essential Tools & Materials
For a successful installation, gathering the right tools and materials beforehand is crucial. Here’s what you’ll need:
Tools Needed
- Utility knife: For cutting planks to size.
- Straightedge: Helps achieve clean, straight cuts.
- Tapping block: Protects the planks during installation.
- Rubber mallet: Assists in fitting the planks together
snugly. - Spacers: Maintain the necessary expansion gap around the room’s perimeter
Materials Required
- Underlayment: This layer provides moisture protection and adds cushioning, enhancing the feel and longevity of your floor.
- Vinyl Flooring Planks: The quantity will depend on your room’s square footage. Always buy 10% more than you think you’ll need to account for cutting and waste.
- Quarter-Round Molding: Finishes the perimeter where the floor meets the walls, covering the expansion gaps.
Preparing the Subfloor
The subfloor is the foundation of your new flooring. Ensuring it is clean, level, and dry is paramount:
- Clean: Sweep and vacuum the subfloor thoroughly to remove any debris and dust.
- Level: Check for any uneven spots using a level. You can use self-leveling compounds to fill in low areas.
- Dry: Conduct a moisture test, especially if installing over concrete. Excessive moisture can cause vinyl planks to warp or swell.
If you want to Install Vinyl Flooring Over Carpet, you need special precautions.
Planning the Layout
Proper planning of your plank layout is essential for aesthetic appeal. Here are some tips:
- Visual Harmony: Consider the direction of the planks. Running them parallel to the longest wall can make a room appear larger.
First Row: Do not start the installation flush against the wall, as walls are seldom perfectly straight. Use spacers to ensure a consistent expansion gap.
Installation Process: Step-by-Step Guide
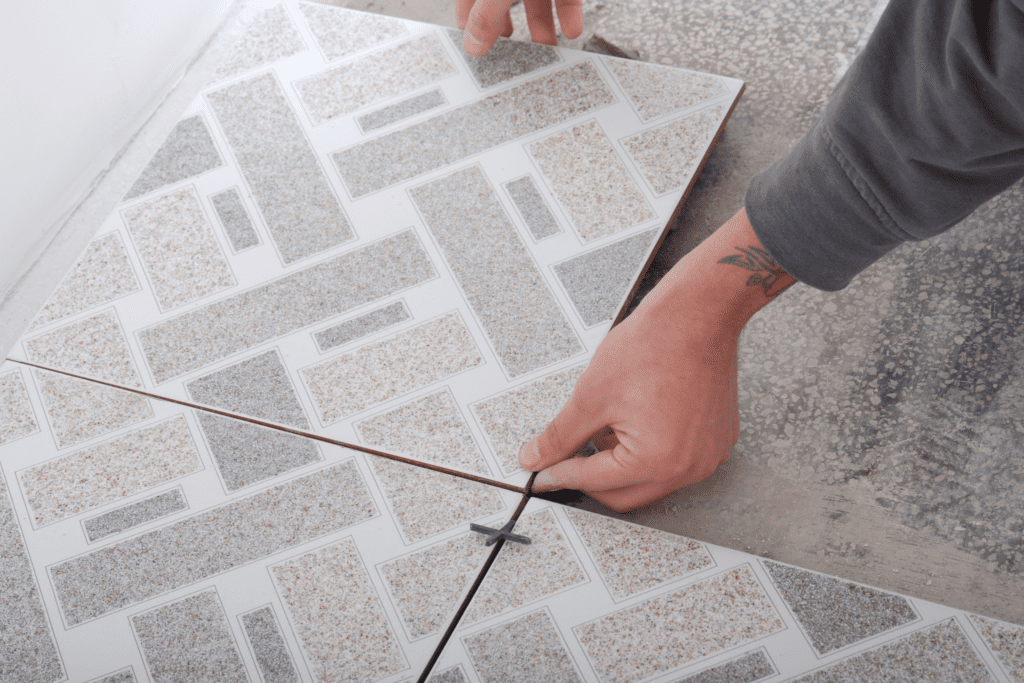
Installing tile over vinyl flooring can be an effective way to refresh your space without the need for extensive preparations associated with removing the old flooring. However, the success of such installations heavily depends on the proper execution of each step. Here’s a detailed breakdown of the process to ensure a durable and aesthetically pleasing outcome:
Acclimatization of Planks
Vinyl planks need to adjust to the temperature and humidity of their installation environment to avoid expansion and contraction post-installation. Let the planks sit in the room where they will be installed for at least 48 hours.
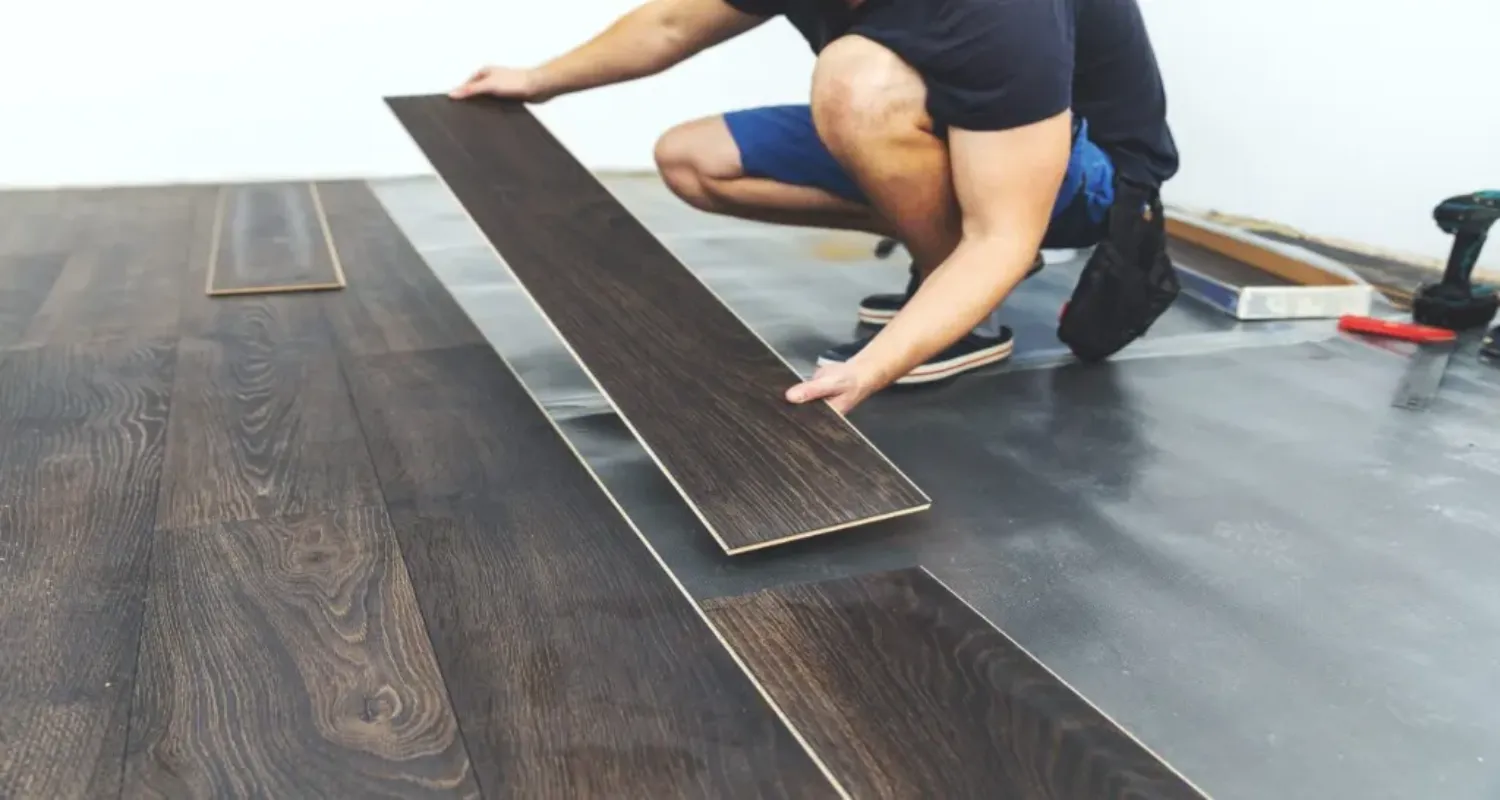
Laying the First Row
Begin your installation in a corner, placing spacers between the walls and the planks to maintain the necessary expansion gap. Make sure the first row is straight, as it will set the precedent for subsequent rows.
Installing Subsequent Rows
- Stagger Seams: Stagger the ends of the planks in adjacent rows to give the floor a more natural appearance and add structural stability. Aim for a stagger of at least 6 inches between end joints.
- Cutting Planks: Measure and mark where cuts are needed, typically around door frames and other obstacles. Use a utility knife and straightedge to make the cuts.
- Fitting Planks: Use the tapping block and mallet to gently lock the planks into place, ensuring tight seams.
Trimming and Finishing Touches
When you reach the final row, you may need to trim the planks lengthwise to fit. After the floor is laid:
- Install quarter-round molding along the edges to cover the expansion gaps.
- If baseboards or trim were removed, now is the time to reattach them.
Pro Tips & Troubleshooting for Flooring Installation
When it comes to flooring, careful planning and attention to detail can significantly enhance both the longevity and appearance of your floors. Below are detailed strategies and common pitfalls to avoid during the installation process, as well as tips for maintaining your floors to keep them looking their best.
Minimizing Flooring Waste
Efficient use of materials is not only economically beneficial but also environmentally friendly. Proper planning can drastically reduce the amount of waste generated during a flooring project. Here are several tactics to ensure you make the most out of each material:
- Measure Twice, Cut Once: Accurate measurements and a clear understanding of the space layout are crucial before making any cuts. This helps in maximizing the use of each plank or tile.
- Optimal Layout Planning: Arrange the layout on paper or with a software tool beforehand to visualize the end result. This step can help minimize unnecessary cuts and adjustments.
- Keep Remnants: Instead of discarding leftover pieces, save them. Small remnants can be very useful for repairs or replacements needed in the future, ensuring a perfect match.
Common Mistakes to Avoid
Several common mistakes can jeopardize the integrity and appearance of your flooring. Being aware of these can help you avoid unnecessary complications:
- Insufficient Expansion Gaps: Wood and vinyl planks expand and contract due to changes in humidity and temperature. Leaving inadequate space around the edges of the room can lead to buckling and other damage. Always adhere to the manufacturer’s guidelines regarding expansion gaps.
- Unprepared Subfloor: The subfloor should be smooth, clean, and dry. Any debris, moisture, or unevenness can cause the flooring to creak, warp, or come apart. Take the time to properly prepare the subfloor according to the flooring type you are installing.
- Rushing the Acclimatization Process: Flooring materials need to adjust to the temperature and humidity of their installation environment. Failing to acclimatize the materials might lead to poor fit and finish, potentially causing gaps or misalignment.
Vinyl Plank Flooring Care & Maintenance
Vinyl flooring offers durability and a wide range of aesthetic options, but like any flooring, it requires proper care to maintain its beauty and functionality over time. Here’s how you can keep your vinyl plank flooring in top condition:
- Regular Cleaning: Sweep your floors regularly to remove dirt and grit that can scratch the surface. Use a soft-bristle broom or a vacuum with a setting for hard surfaces.
- Appropriate Mopping: When mopping, use cleaners specifically approved for vinyl flooring. Harsh chemicals can damage the surface, causing it to degrade prematurely. A damp mop with mild soap is usually sufficient to clean up any spills or stains.
- Furniture Protection: Protecting furniture is one of the popular new year’s resolutions for homeowners. If you also want to protect your furniture, place felt pads or similar protective materials under the legs of furniture to prevent scratches and dents on your vinyl flooring. These pads should be checked and replaced periodically as they can wear out or collect grit.
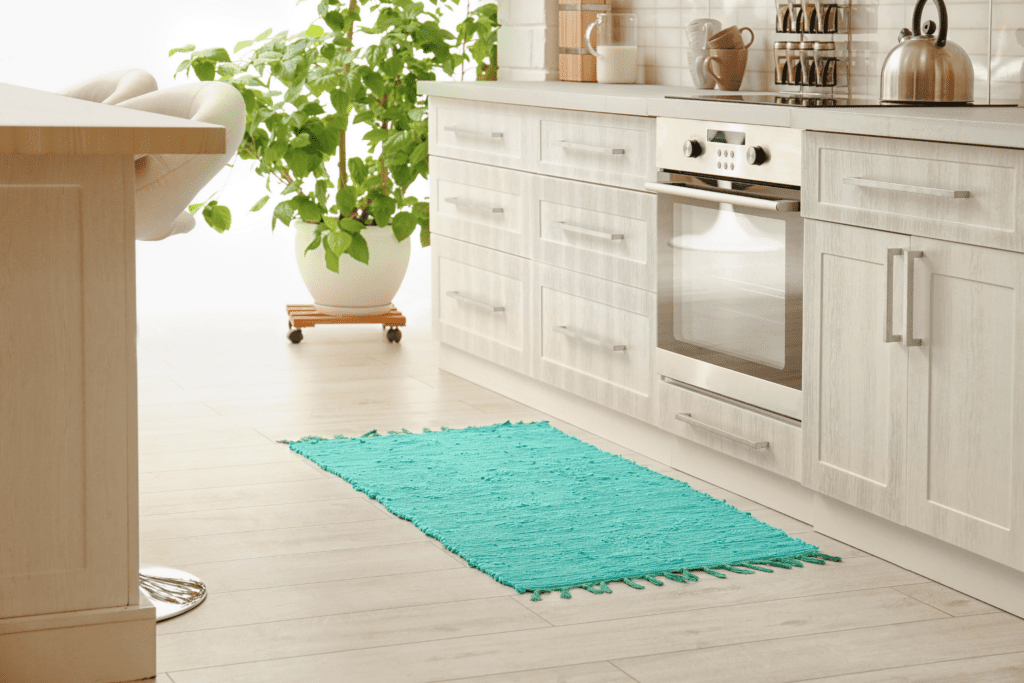
- Avoid Rubber-backed Mats: These types of mats can cause discoloration on vinyl flooring due to chemical reactions. Opt for non-staining alternatives to keep your floors looking new.
By following these detailed guidelines and avoiding common installation and maintenance errors, you can significantly extend the life and appearance of your flooring. For more information, you can read The Essential Guide To Home Maintenance. Whether you’re a DIY enthusiast or a professional installer, these tips and troubleshooting strategies will ensure that your flooring project is successful and sustainable.
Looking Out For Reliable Vinyl Plank Flooring Installation Services?
DIY vinyl plank flooring installation can greatly enhance the beauty and functionality of your home. With the right preparation, tools, and techniques, you can achieve a professional-looking result that’s both satisfying and cost-effective. For reliable Flooring Installation services, consider consulting APRKC home renovation. Happy flooring!